Fitting guide
How LoopNot works
Fit your loop links once in a few minutes. After that, your lace-ups are slip-ons for good.
-
 01
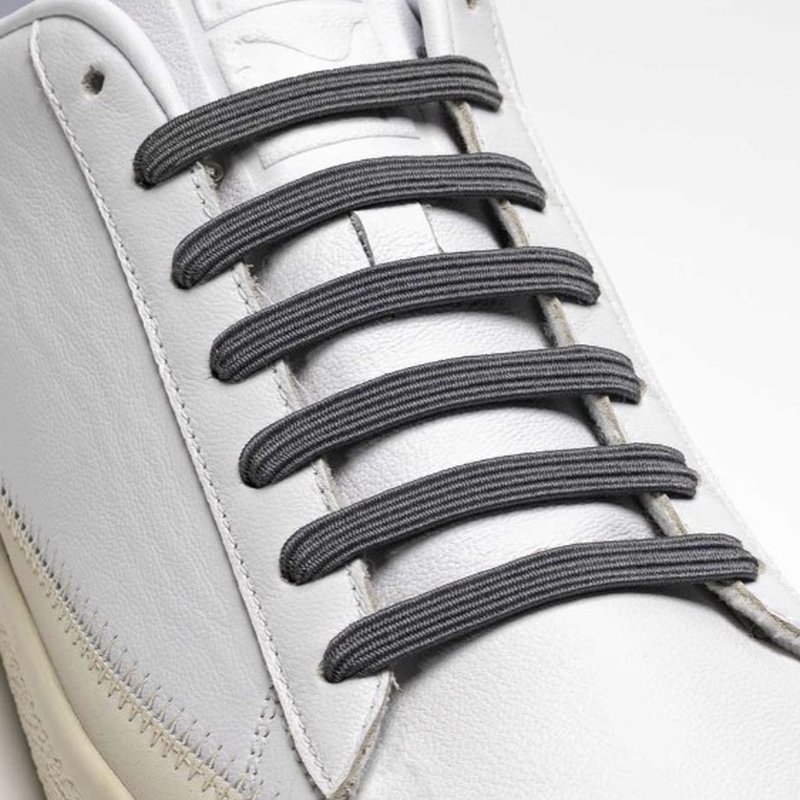
Take out your old laces
Unlace your shoes completely. Count the eyelet rows on each shoe – most sneakers have 5 to 7. Each pack gives you 14 loop links, so up to 7 per shoe.
-
 02
Start from the toe
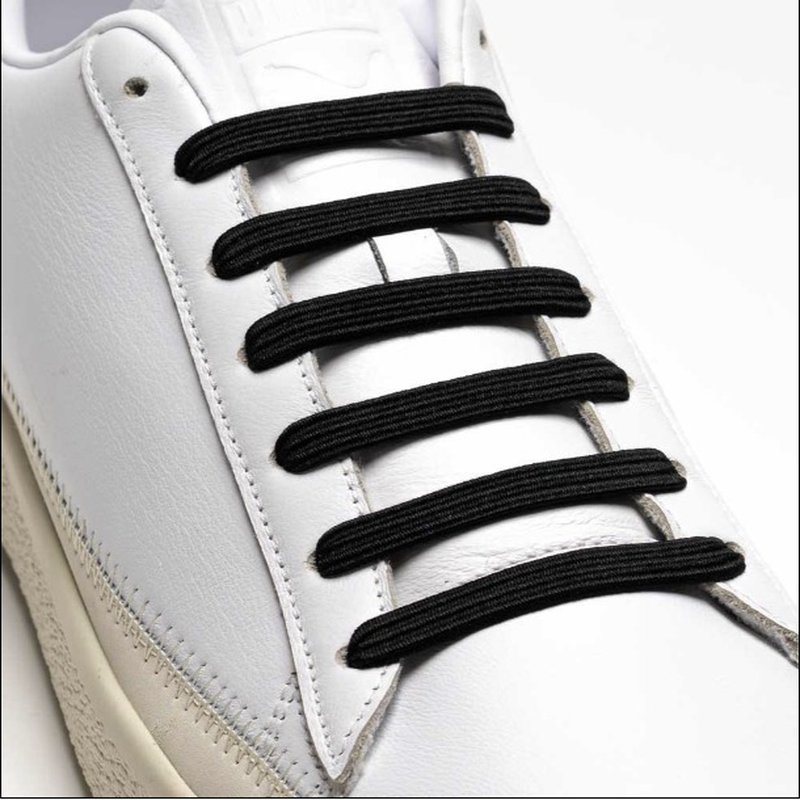
Take one loop link and push one end through the eyelet closest to the toe, from the outside in. Stretch it across and push the other end through the opposite eyelet.
-
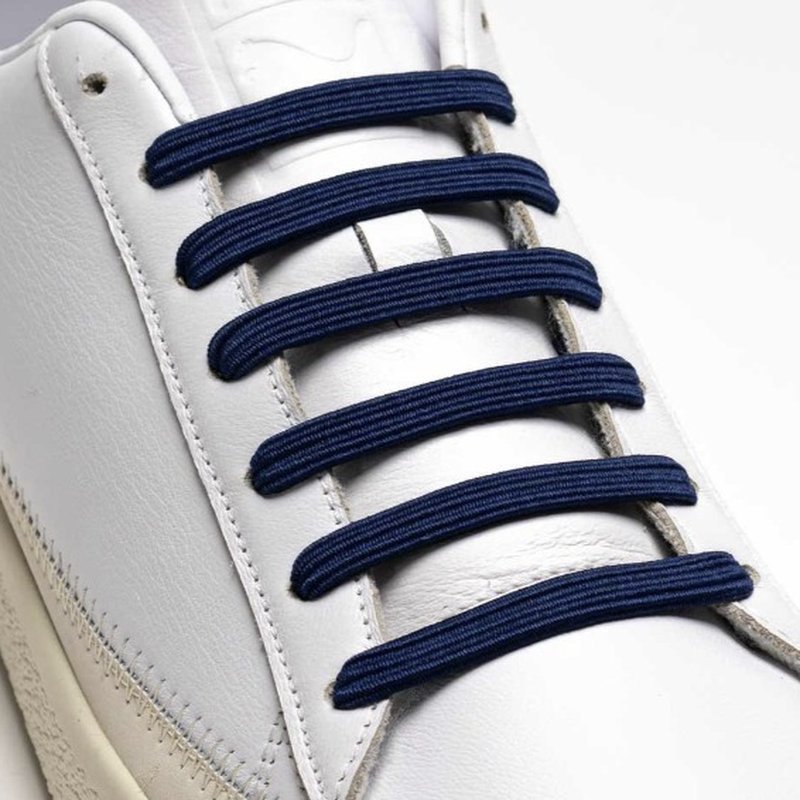 03
Lock the ends inside
Tuck both ends so they sit flat inside the shoe. The lock ends hold the link in place, so it won’t slip back out.
-
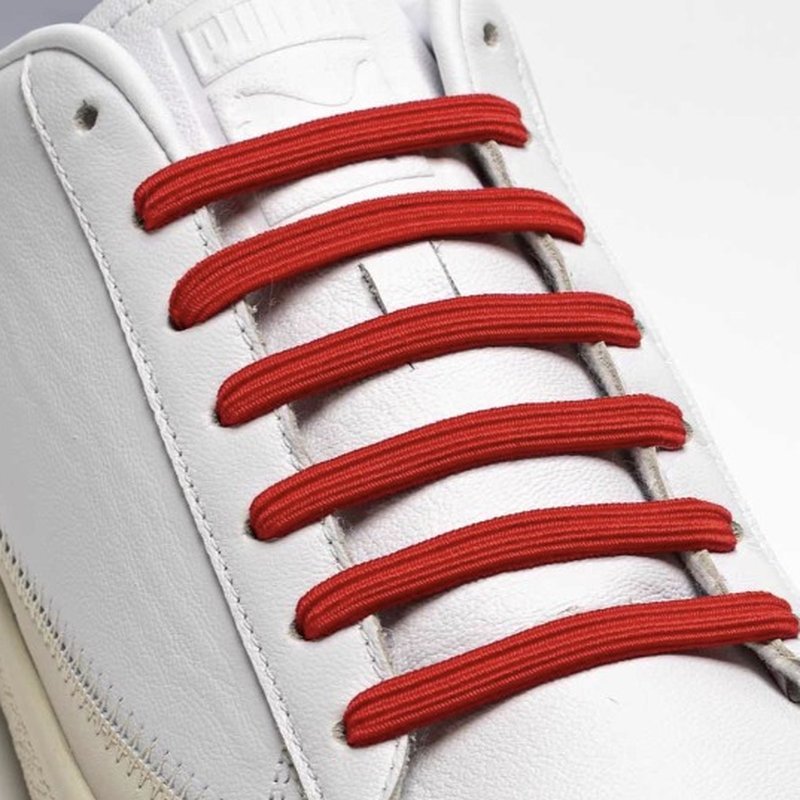 04
Repeat up the shoe
Work your way up, one link per row. Keep each link sitting flat for that clean, ladder-style look.
-
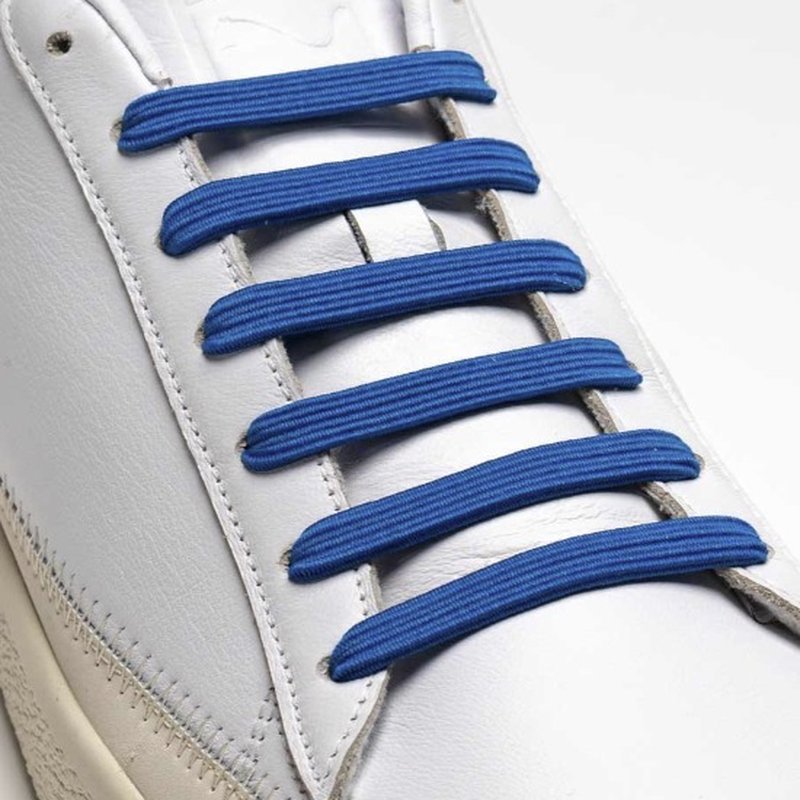 05
Fine-tune your fit
For a snugger fit, pull a little more of each link through the eyelets. Want it relaxed? Leave a little more across the top. Adjust row by row until it feels right.
Good to know
- Works best on shoes with regular round eyelets – sneakers, casual shoes and gym footwear.
- Have fewer than 7 rows? Use fewer links and keep the rest as spares.
- Shoes with hooks or very large lace loops may not hold the links securely.
- Mix colours for a custom look – the links are sold per pack, one colour per pack.
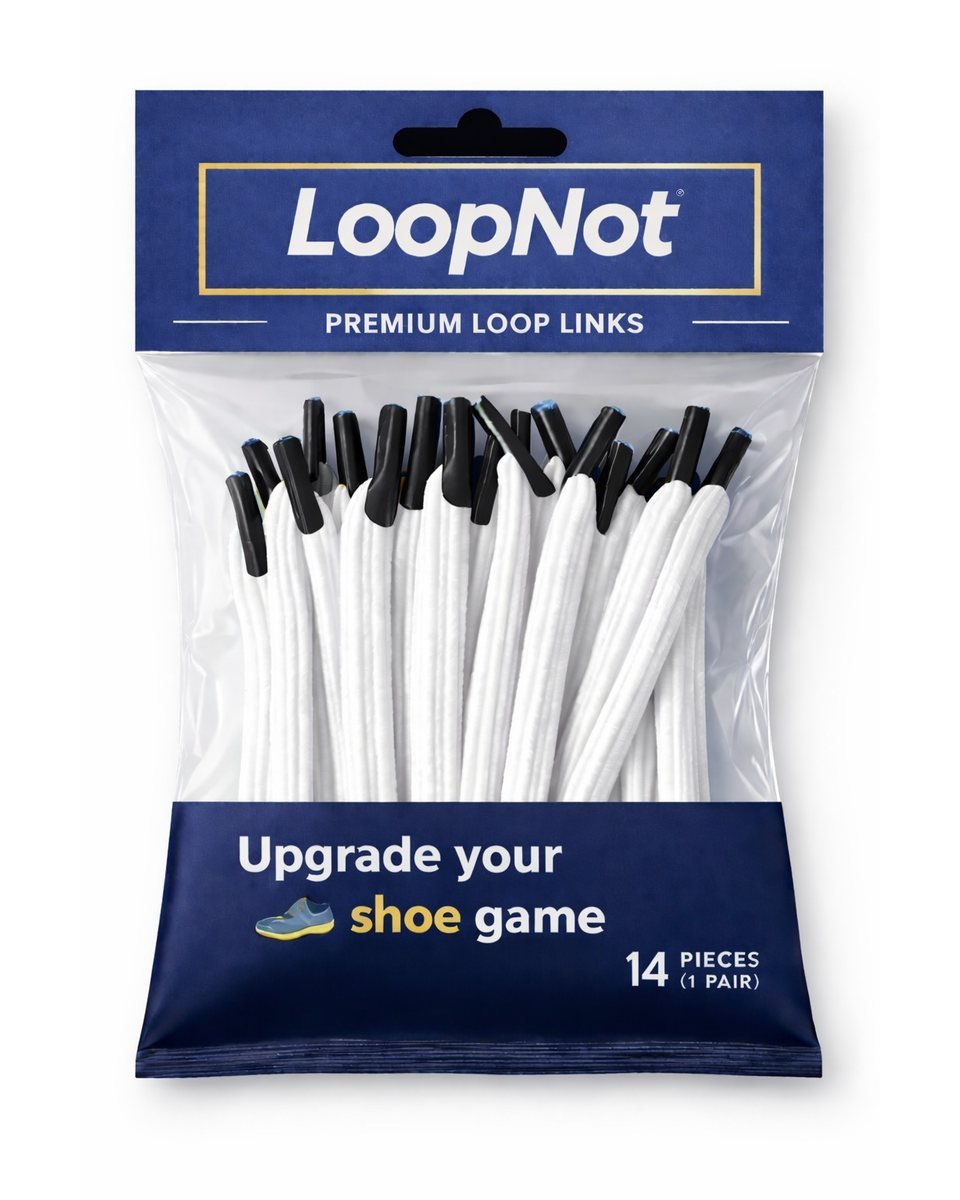
Your last knot starts here.
Premium no-tie laces for one pair of shoes, now at a launch price.